Soft Buttery Parker House Rolls Recipe
 Emma Taylor- I am a passionate personal finance blogger dedicated to helping individuals take control of their financial well-being.
In our family, my sister Meghan holds the esteemed title of the Bread Queen, renowned for her mastery over all baked goods that are rich, buttery, and utterly irresistible. When I set out to prepare these classic Parker House Rolls, my primary goal was to earn her seal of approval, given her supreme
In our family, my sister Meghan holds the esteemed title of the Bread Queen, renowned for her mastery over all baked goods that are rich, buttery, and utterly irresistible. When I set out to prepare these classic Parker House Rolls, my primary goal was to earn her seal of approval, given her supreme authority in the realm of delectable breads. I am thrilled to share that she not only gave them her enthusiastic endorsement but also eagerly returned for additional servings—possibly even a third helping. Although this recipe may appear somewhat daunting at first glance, the key to success lies more in exercising patience rather than tackling overwhelming complexity. The dough simply requires adequate time to relax and expand through two distinct rising periods. Utilizing just a handful of basic pantry staples, this recipe produces an abundant quantity of rolls, while also providing a satisfying upper-body workout through the kneading process. Ultimately, these rolls deliver a deeply comforting experience that makes every effort feel profoundly worthwhile.
Easy Parker House Rolls Recipe
Originating from the iconic Parker House Hotel in Boston back in the 1870s, the creation story behind these beloved rolls is surrounded by several intriguing theories and legends. What remains undisputed, however, is the signature technique of folding the dough and generously brushing it with butter, which results in the hallmark tenderness and luxurious buttery essence that have made them a timeless favorite across generations.
No matter the exact origins, preparing these rolls does involve a series of deliberate steps that reward careful attention. The process begins by activating the yeast in a mixture of warm water and sugar, followed by incorporating the liquid components and gradually working in the flour to develop an ideal dough texture—supple, velvety smooth, and slightly sticky to the touch. Once thoroughly kneaded and allowed its initial rise, the dough is portioned, shaped into rectangles, brushed with melted butter, meticulously folded, portioned once more, and permitted a secondary rise before being baked to a beautiful golden hue. A final generous application of melted butter after baking elevates them to perfection. While these Parker House Rolls demand a true labor of love, the Bread Queen herself declares that every single moment invested is more than justified by their exquisite flavor and texture.
Key Tips for Perfect Parker House Rolls
- Precisely weigh your ingredients. This method guarantees optimal consistency and precision in every batch you bake.
- Ensure the water and milk are heated to exactly 105°F-110°F. Employing a thermometer is the most reliable approach for verification. Without one, aim for the comfortable warmth akin to hand-washing temperature. Excessive heat can destroy the yeast, rendering it ineffective. For convenience, I often use warm tap water directly.
- Lightly flour your hands during kneading. Should the dough adhere excessively, a light dusting of flour on your hands prevents frustration. Exercise caution, however, as over-flouring leads to dense, arid rolls that lack the desired fluffiness.
- Knead thoroughly for 10 minutes by hand. Should you possess a stand mixer equipped with a dough hook, reduce the time to a minimum of 5 minutes to achieve the same smooth, elastic quality.
- The cutting and folding steps are essential. Though they might feel laborious, these actions create the distinctive buttery pocket that defines Parker House Rolls, making them effortlessly pull apart for enjoyment.
This recipe yields approximately 16 rolls at a total cost of around $3.20, or just $0.20 per serving, making it an economical choice for gatherings or family meals. These rolls boast an incredibly soft and airy interior paired with a profoundly rich, butter-infused taste, ideal for savoring plain with a simple pat of butter or as the perfect accompaniment to absorb the savory liquids from soups, hearty stews, or luscious gravies.
Ingredients
- Nonstick spray
- ¼ cup granulated sugar, divided (2 oz., 50g)
- 1 Tbsp active dry yeast
- ¼ cup warm water, heated to 105°F-110°F
- 1 cup milk (8 oz.), warmed to 105°F-110°F
- 1 stick unsalted butter, divided
- 4½ cups all-purpose flour (675g), plus extra for dusting
- 1 tsp salt
- 2 large eggs
Step-by-Step Instructions
Begin by assembling all your ingredients and lightly coating a 9×13-inch baking dish with nonstick spray to prevent sticking during the rising and baking phases.
In a small bowl, combine ⅛ cup (2 Tbsp) of the sugar with the active dry yeast and the warm water. Allow this mixture to rest undisturbed for at least 5 minutes, during which the yeast should activate and form a frothy, foamy top layer, indicating it's alive and ready to leaven the dough.
As the yeast blooms, prepare the milk mixture by gently heating 1 cup of milk along with 4 Tbsp of butter in a small saucepan over medium-low heat until the butter fully melts. Alternatively, use the microwave in 30-second bursts for efficiency. Crucially, avoid boiling the milk, and permit it to cool slightly if it exceeds the ideal temperature range to safeguard the yeast's viability.
In a spacious mixing bowl, whisk together ½ cup of the flour, the salt, and the leftover sugar to evenly distribute the dry components.
Pour in the warm milk-butter blend, the activated yeast mixture, and the two eggs. Use a rubber spatula to stir everything until a uniform, smooth batter forms without any visible lumps.
Gradually incorporate the remaining flour, adding it in ½-cup increments and blending thoroughly after each addition. A whisk proves handy for the initial stages when the mixture remains relatively fluid, but switch to your hands as it thickens considerably, particularly with the final flour addition, to ensure complete integration.
Transfer the cohesive dough ball onto a clean countertop, where any residual loose flour will naturally incorporate during kneading. Work the dough vigorously by hand for a full 10 minutes until it transforms into a glossy, elastic, and supple mass. If stickiness becomes an issue, sparingly dust your hands with flour to maintain control without overdoing it.
Lightly spray the interior of your large mixing bowl with nonstick spray, return the kneaded dough to it, cover securely with plastic wrap, and allow it to rise in a warm spot for 90 minutes or until it has noticeably doubled in volume. Note that environmental factors in your kitchen, such as temperature and humidity, may slightly alter this timeline.
Upon completion of the first rise, gently relocate the expanded dough to a surface dusted with a minimal amount of flour. Halve the dough evenly, then employ a rolling pin to flatten each portion into a thin rectangle measuring approximately ½-inch thick and 8×11 inches in dimensions.
Melt the remaining 4 Tbsp of butter. Delicately brush half of this melted butter across the surface of both rectangles to infuse buttery richness. Proceed to slice each rectangle lengthwise into halves, yielding four narrower rectangles total.
Carefully fold each rectangle along its length, positioning the top edge about ½-inch short of meeting the bottom to form the characteristic pocket shape. Slice these folded pieces crosswise into four equal segments each, producing 16 individual rolls ready for the pan.
Arrange the rolls seam-side down in the prepared baking dish, positioning them snugly together to encourage even rising and a pull-apart texture. Cover the dish with plastic wrap and permit a second rise for one hour. Meanwhile, preheat your oven to 350°F to ensure it's fully heated when the rolls are ready.
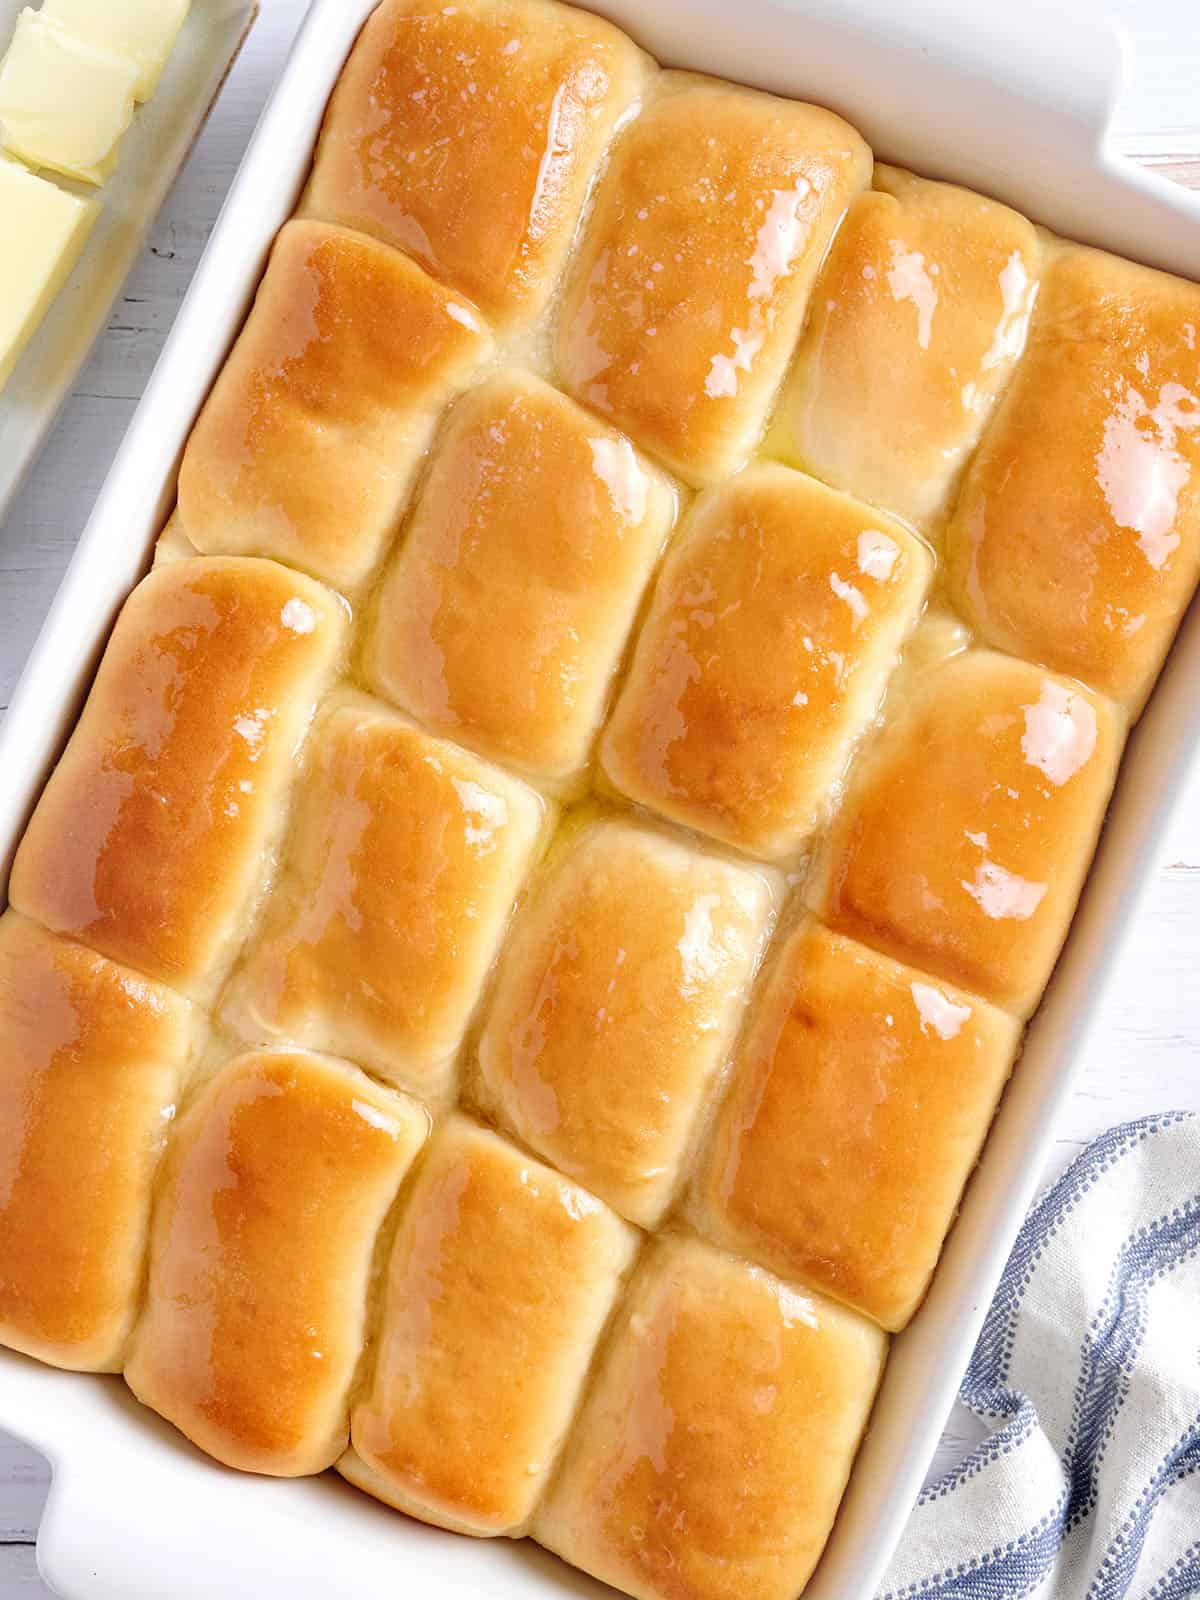
Bake the risen rolls for 25 minutes, or until they achieve a stunning golden-brown exterior. Immediately upon removal from the oven, lavish them with the reserved 2 Tbsp of melted butter for an irresistible sheen and intensified flavor. Serve warm and revel in their perfection.
How to Make Parker House Rolls: Detailed Step-by-Step Photos
Gather and prepare all ingredients. Spray your 9×13 dish with nonstick spray.
Activate the yeast: Place 2 Tbsp sugar, 1 Tbsp active dry yeast, and ¼ cup warm water in a small bowl and let it sit for about 5 minutes until the yeast blooms. The mixture will become foamy when this happens. If it doesn’t get foamy or bubbly, the yeast is likely dead, and you want to start with a fresh pack. This crucial step ensures robust leavening power for light, airy rolls.
Warm the milk: While you wait for the yeast to bloom, warm 1 cup milk and 4 Tbsp butter over medium-low heat, until the butter is just melted. I like to do this in the microwave, warming the mixture in 30-second intervals. Make sure the milk doesn’t boil. Let it cool if it’s too hot. Proper temperature control prevents killing the yeast and maintains dough hydration.
Combine the dry ingredients: In a large bowl, mix ½ cup flour, salt, and the remaining sugar. This initial blend ensures even distribution of leavening agents and seasonings throughout the dough.
Combine wet and dry ingredients: Add the milk mixture, yeast mixture, and 2 eggs, and combine with a rubber spatula until smooth. The eggs contribute richness and tenderness to the final crumb structure.
Mix in the flour: Add the flour, ½ cup at a time, combining after each addition. You can use a whisk until it becomes too thick. When I add the last ½ cup of flour, I like to use my hands to combine it all. I alternated between a spatula and a whisk when adding and mixing the flour, depending on the condition. Then I moved to using my hands with the last addition of flour. Patience here develops the gluten network essential for structure.
Knead the dough: Once all the flour is added, transfer the dough ball to the counter. Don’t worry if there is loose flour. As you knead, it will be incorporated. If kneading by hand, knead for 10 minutes until smooth and elastic. If the dough becomes too sticky, flour your hands lightly and continue kneading. The dough should be smooth, soft, slightly tacky, but not wet or excessively sticky. This develops strength and extensibility.
Let the dough rise: Spray a large bowl with nonstick spray and place the kneaded dough ball into the bowl. Cover the bowl with plastic wrap and let the dough rise for 90 minutes, or until it has doubled in size. Depending on the conditions in your kitchen, it could take more or less time for the dough to double in size. A warm, draft-free spot accelerates this process.
Roll out the dough: Once the dough has risen, transfer it to a lightly floured surface and divide it in half. Using a rolling pin, roll each half into a rectangle that is ½-inch thick, about 8×11 inches. Uniform thickness ensures even baking and folding.
Brush the dough: Melt the remaining 4 Tbsp butter and brush the rectangles lightly with half of it. This creates the signature butter flavor and helps the layer separate after they’re cooked. Cut again in half, lengthwise. You will have 4 rectangles now. Butter layers promote flakiness.
Cut the dough: Fold the dough in half, lengthwise, leaving ½-inch unfolded, so the ends don’t meet. Cut each rectangle into 4 even pieces, so you now have 16 rolls. This folding technique forms the iconic pocket.
Let the dough rise: Place the cut rolls in a greased baking dish with the folded side down. The rolls can be close together, so they puff up against each other. Cover the dish with plastic wrap and let the dough rise again for 1 hour. Preheat the oven to 350°F while the dough rises. Proximity encourages soft sides.
Bake: Once the oven is heated and the dough has risen again, place it in the oven and bake for 25 minutes. Watch for even golden color.
Butter and serve: Once the rolls are golden brown, remove them from the oven and brush with the remaining 2 Tbsp butter for a glossy finish and extra richness. This final touch enhances shine and flavor penetration.
Remove from the pan and serve. Separate the rolls and serve with a pat of butter. Enjoy their warm, steamy interiors.
Serving Suggestions
Parker House Rolls versatile nature allows them to complement virtually any dish, but they shine brightest alongside pasta bakes where they sop up residual sauces, or simmered stews to capture every drop of flavorful broth. They also harmonize beautifully with roasted meats like ham, and could be repurposed into delightful mini sandwiches.
Storage and Reheating Instructions
Any leftover rolls can be preserved in an airtight container within the refrigerator for up to 3-4 days, or frozen solid for as long as 3 months to extend their freshness. For reheating, warm gently in a low oven to restore their soft texture without drying out.
Nutritional Information
Per serving (1 roll): 208 calories, 31g carbohydrates, 5g protein, 7g fat, 161mg sodium, 1g fiber. Percentages represent approximate daily values.
Weekly Digest
Top articles delivered to your inbox every week.